
Thanks for being a SwitcheOn customer. If you’ve been sent to this page, your unit has received excessive RF interference and we’ve sent you an upgrade kit to improve your SwitcheOn’s RF immunity.
Kit contents:
 Your kit includes:
- A replacement lid with display and improved noise immunity cable attached
- A 2.5MM allen wrench
- An extra screw in case one is lost in the replacement process
- A return shipping label for the old display
- 2 Zip ties
Installation steps:
- Unplug your switcheon
- Use the allen wrench to remove all 4 screws holding the lid. Place them somewhere safe
- Once the screws are remove, lift the lid and find the wires from the display that go to the main circuit board.
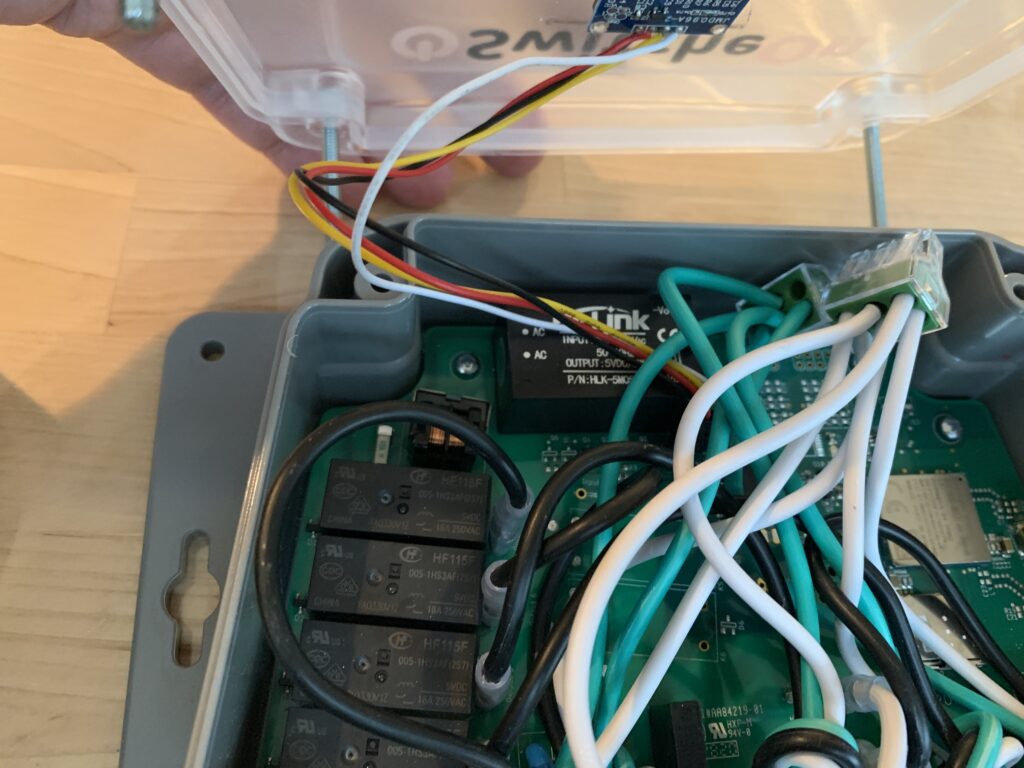
- Follow the wires down to the black plug at the bottom and pull on it to disconnect from the circuit board.
- Place the old lid back in the shipping box, attach the pre-paid shipping label and drop in the mail.
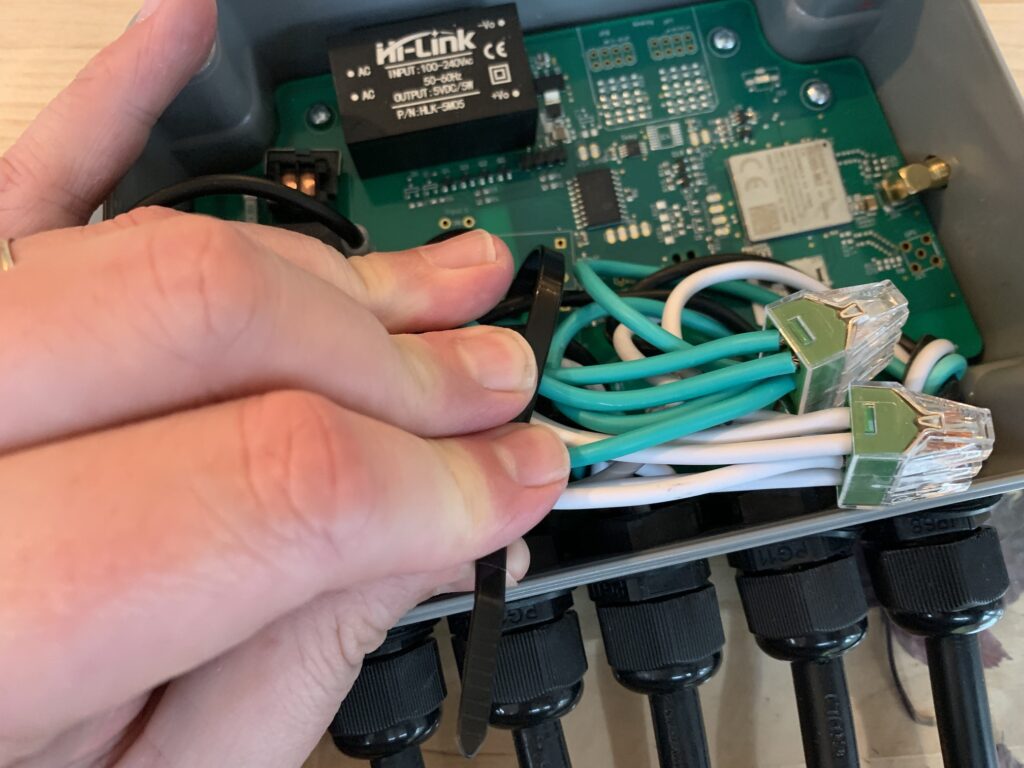
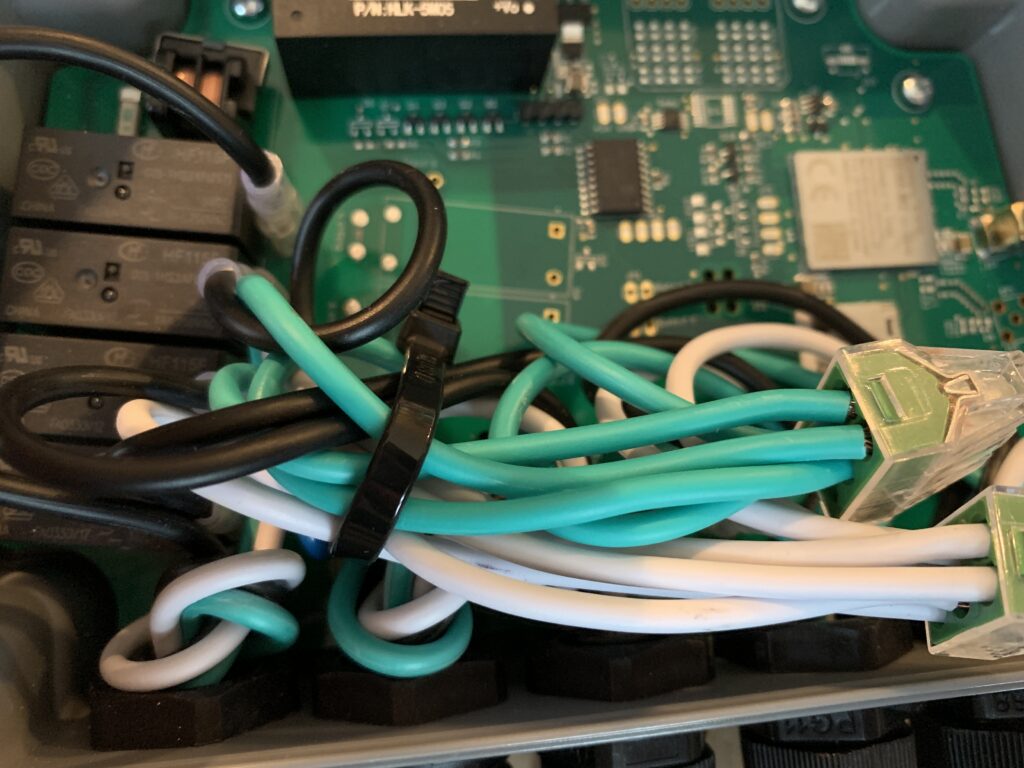
- Thread a Zip-tie under the main wires from the front of the box.
- Pull all of the wires and the Wall-Nut cable connectors toward the front of the box and insert the flat end of the Zip tie into the ratcheting end
- Pull the zip tie tight to hold all of the wires on the cable connector end of the box
- Cut the tail off of the Zip tie with a pair of scissors or wire cutters
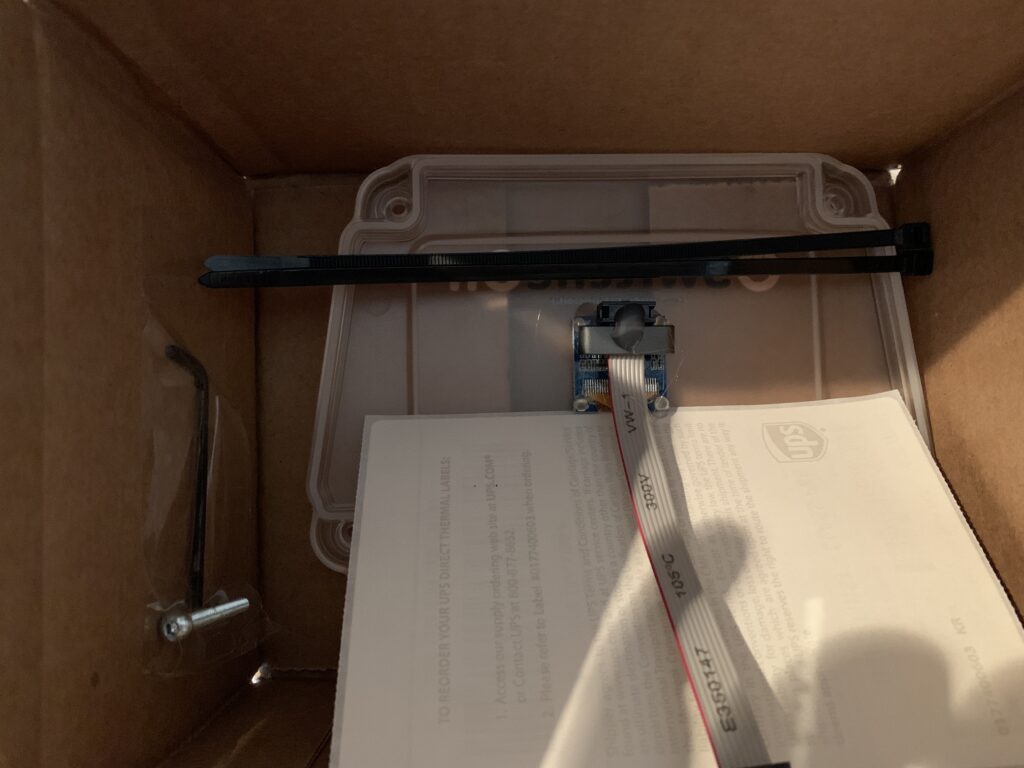
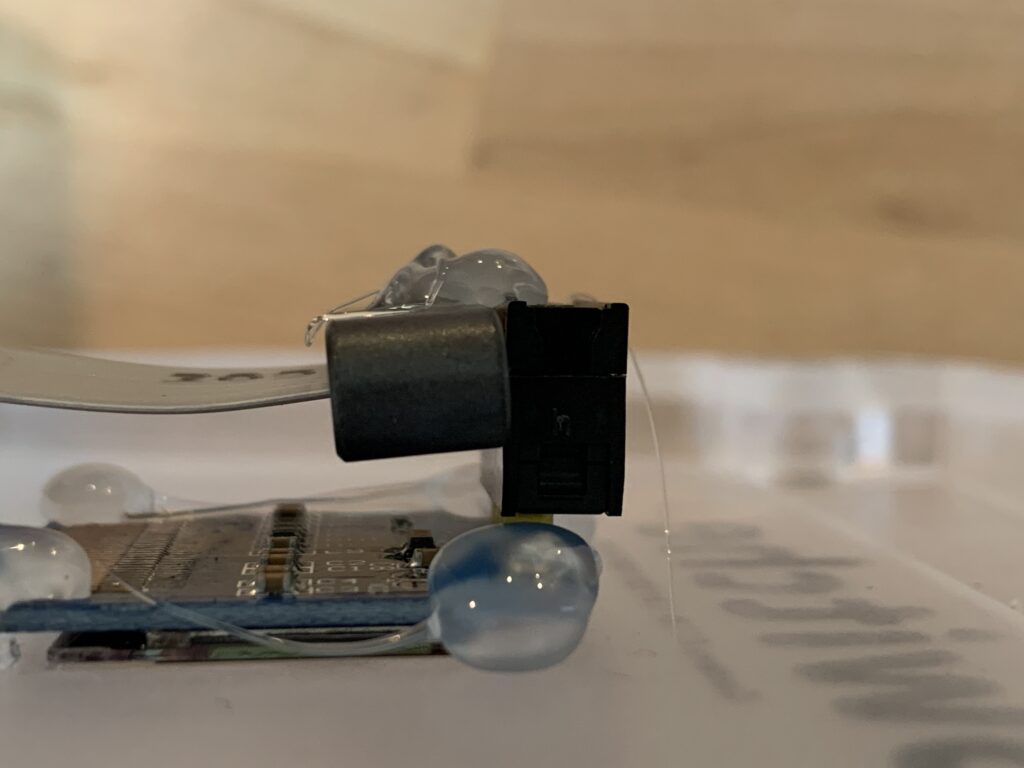
- Inspect your replacement display to ensure it hasn’t been damaged in shipment. The connector should be tight and should be on the lower row of pins. There should be glue holding the magnetic filter to the connector.
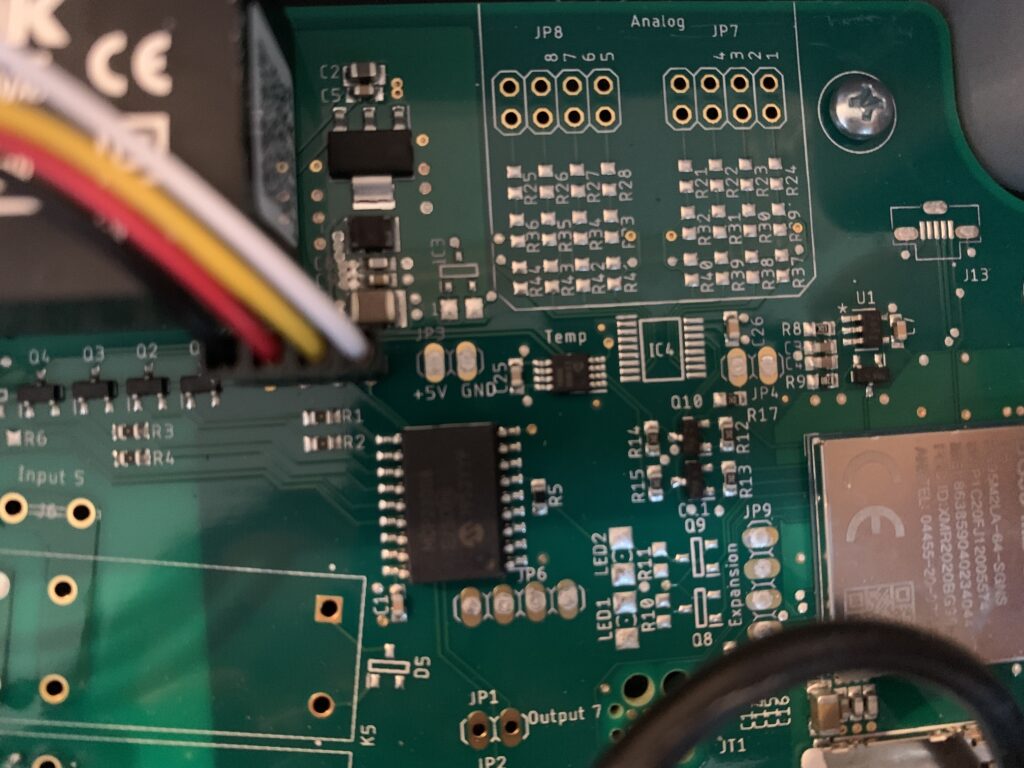
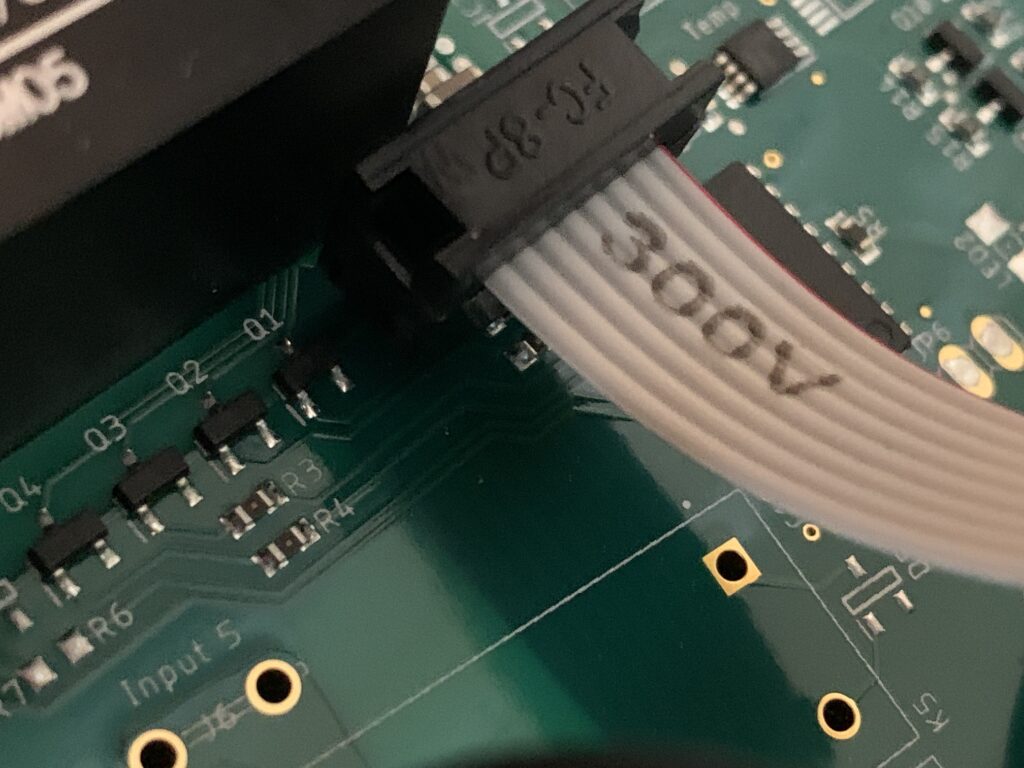
- Connect the replacement display to the circuit board. The board only has 4 pins, while the connector has 8. The pins are placed such that only the top row of the connector can be installed on the pins. This is correct. It will look like this after connecting:
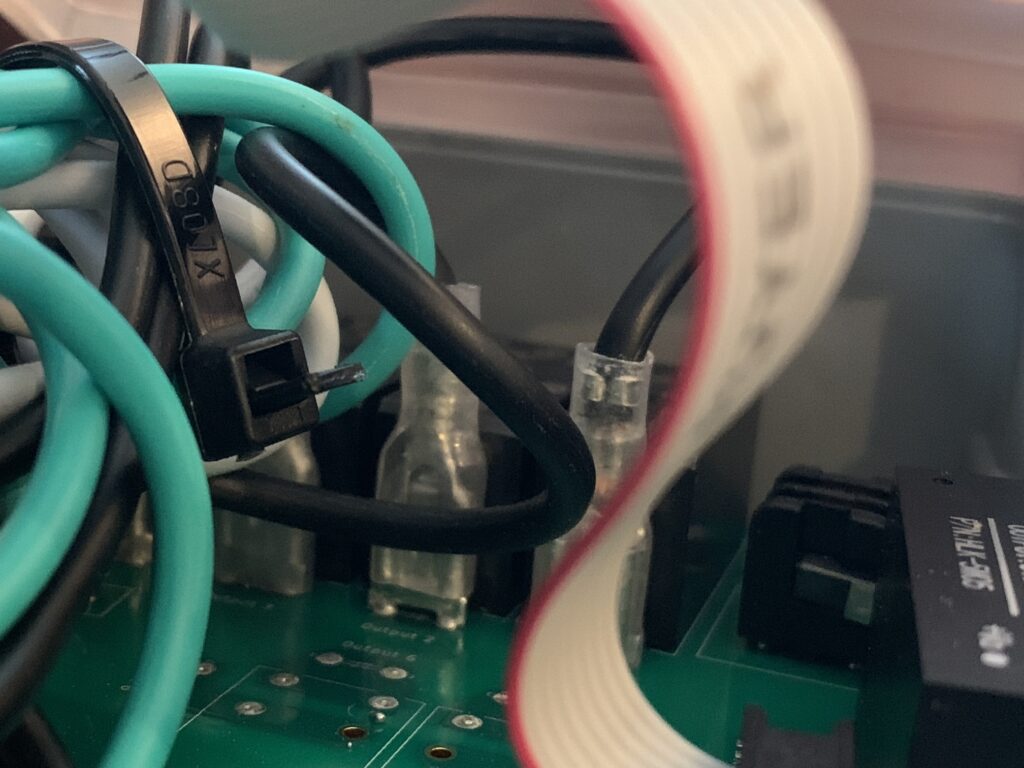
- With the lid above the box, pull the display cable away from the power cables. The goal is to bend it slightly so it rests on the opposite side of the enclosure from the power cables.
- Place the lid on top of SwitcheOn, insert the screws and tighten with the allen wrench.
- Reconnect SwitcheOn and enjoy improved noise immunity

If you have any questions, comments or concerns, please don’t hesitate to contact us. We’ll respond quickly to ensure your upgrade is a success. If you do not feel comfortable performing this upgrade or would prefer to not, please let us know and we’ll gladly handle it for you.
Recent Comments